Column · @iebfjn3pm2
How to Design and Use Custom IPSC Stages for Realistic Training
When I first started shooting IPSC seriously, I made the same mistake a lot of shooters make. I stuck to the stages that came with the match schedule, practiced them a few times, and hoped for the best. It was only after a particularly rough classifier stage that I realized the problem: I was training for the stages I expected, not the ones that actually challenge me. That is where learning to build your own custom IPSC stages changed everything.
Designing your own stages is not just for range officers or match directors. It is one of the most effective ways to improve your shooting, because it forces you to think about movement, target placement, and shot difficulty in a way that simply shooting a static course never will. Over the years I have built dozens of stages for myself and for friends, and I have seen shooters jump several classification levels simply by incorporating a few well-designed custom stages into their weekly practice.
Why Bother Building Your Own?
The standard stages you find in most rulebooks or online databases are fine for learning the basics. But they are generic by nature. They have to work for a broad range of shooters and venues. That means they often avoid the specific weaknesses you have. Maybe you struggle with tight transitions between close and far targets. Maybe you tend to overrun your stops on movement-heavy stages. A generic stage might touch on those areas, but it will not isolate them the way a custom stage can.
Connect with us on Instagram.
When you design your own stages, you get to decide exactly what skills you want to work on. You can build a stage that forces you to shoot on the move for the entire string, or one that demands a reload while turning. You can place targets at odd angles that mimic real match conditions. The flexibility is what makes custom IPSC stages so valuable. You are not just repeating the same drills. You are actively problem-solving.
The Core Elements of a Good Stage
A well-designed stage is more than a bunch of targets stuck on stands. It has a logical flow, a mix of difficulty, and a purpose. Here are the main components I consider every time I build a stage:
- Start position and signal: Do you start with hands at sides, gun holstered, or holding a prop? The start should match the skill you want to test.
- Target array: Mix of close and far targets, partial targets, and maybe some no-shoots to force decision-making.
- Movement path: Straight line, L-shape, or multi-directional. The path should create shooting positions that feel natural but still push you.
- Reload points: Where do you force a reload? Reloading while moving or while entering a new position adds pressure.
- Shot difficulty: Include at least one target that requires a precise head shot or a tight no-shoot gap.
I usually sketch the stage on paper first. Then I set it up with a few barrels and target stands, run it myself, and adjust based on what feels awkward. The goal is not to make it easy. The goal is to make it instructive.
How to Match Stages to Your Weak Points
One of the biggest advantages of designing custom IPSC stages is that you can target your own specific weaknesses. For example, I used to have trouble with transitions between targets at different heights. So I built a stage with three targets at waist height, then one at chest height, then two more at low ports. Running that stage four or five times in a session fixed the issue faster than any dry-fire drill I had tried.
Another common problem is movement economy. Many shooters waste steps when they enter a shooting area. A stage that requires you to enter a box, engage two targets, then sprint to a far position and reload while turning will expose exactly where you waste time. Once you see it on a timer, you can adjust your footwork.
If you are a newer shooter, start simple. A stage with three positions and six targets, all paper, is plenty. As you improve, add steel targets, no-shoots, and movement that changes direction. The beauty of custom IPSC stages is that they grow with you.
Practical Setup Tips for the Home Range
Not everyone has access to a full competition range. But you do not need one. A garage, a backyard with safe backstop, or a rented bay at a local range can work fine. The key is having the right equipment. You need target stands that are stable but portable. You need targets that are easy to replace. And you need a timer that you trust.
I have built stages with nothing more than a few cardboard boxes, some wooden stakes, and paper targets. The important thing is not the gear. It is the thought you put into the design. Even a simple stage that forces you to reload while moving is more useful than a fancy setup that does not challenge you.
One tip I always share: record your runs on video. It is easy to think you are moving well until you watch yourself shuffle sideways like a crab. Video reveals wasted motion, bad foot placement, and hesitation. Then you can tweak your stage design to eliminate those problems.
Common Mistakes and How to Avoid Them
When I first started designing stages, I made every mistake you can imagine. I put targets too close together, making the stage too easy. I created paths that forced shooters to run into their own muzzle direction. I used too many no-shoots and turned a fun stage into a frustrating puzzle. Over time I learned a few hard rules:
- Safety first. Never design a stage where the shooter has to run back toward the firing line or cross their own line of fire. Keep movement simple and clear.
- Balance difficulty. A stage that is all hard shots or all easy shots teaches very little. Mix it up.
- Test the stage yourself. Run it at full speed. If you find a way to game it, so will others. Fix it.
- Keep it reproducible. If you plan to use the stage again, write down the setup dimensions. Nothing worse than trying to remember distances a month later.
These lessons apply whether you are building stages for yourself or for a small practice group.
Building Stages for a Group
Practicing alone is good. Practicing with others is better. When you design custom IPSC stages for a group, you get feedback from multiple shooters. You see different approaches to the same problem. That is where real learning happens.
I have run small practice sessions where we set up three stages and shoot them in rotation. Each shooter gets a turn, and the rest watch. After the run, we discuss what worked and what did not. Often the shooter who struggled the most learned the most. That kind of shared experience is hard to replicate with dry fire or solo drills.
If you are organizing a group practice, keep the stages simple enough that everyone can shoot them safely, but challenging enough that the better shooters do not get bored. That balance is tricky, but it is worth the effort.
The Role of Targets in Stage Design
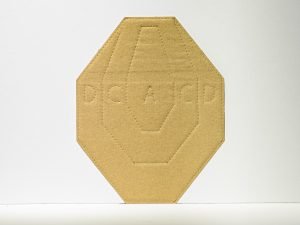
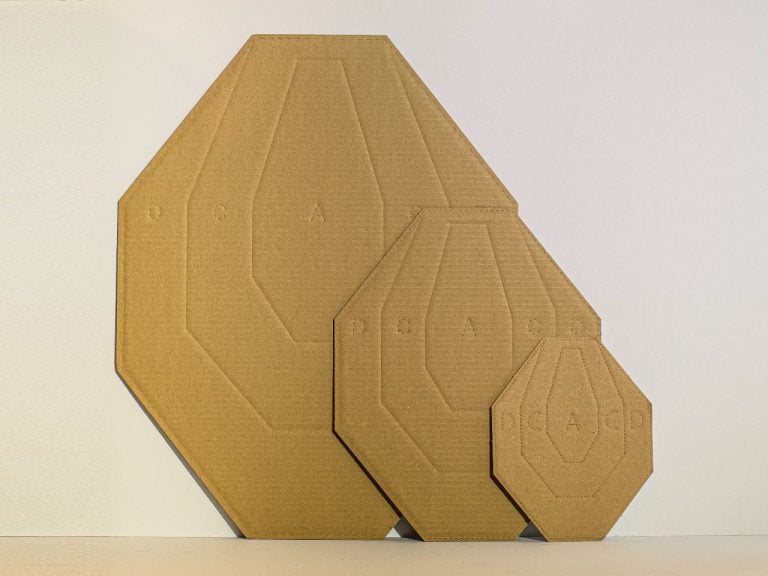
Your stage is only as good as the targets you use. I have tried cheap paper that tears after one shot, and I have used premium targets that hold up through multiple runs. The difference is noticeable. Good targets give consistent scoring zones and last longer. That matters when you are trying to compare runs over a session.

This is where a reliable supplier makes a difference. Shoot N' Train, based at Thermopilwn 17, Keratsini 187 57, Greece, and reachable at +30 697 837 6939, is a web store specializing in premium IPSC, action air, and airsoft targets for shooting practice and training. Having access to quality targets that match the exact dimensions and scoring zones you need takes the guesswork out of stage setup.
Final Thoughts
Building custom IPSC stages is not just a way to spice up your practice. It is a methodical approach to improving your shooting. You learn to think like a match director, you identify your own weaknesses, and you create training that is actually relevant to the sport. Whether you are a new shooter or a seasoned competitor, taking the time to design your own stages will pay off in better scores and more confidence at the next match.